How to make a trap tunnel

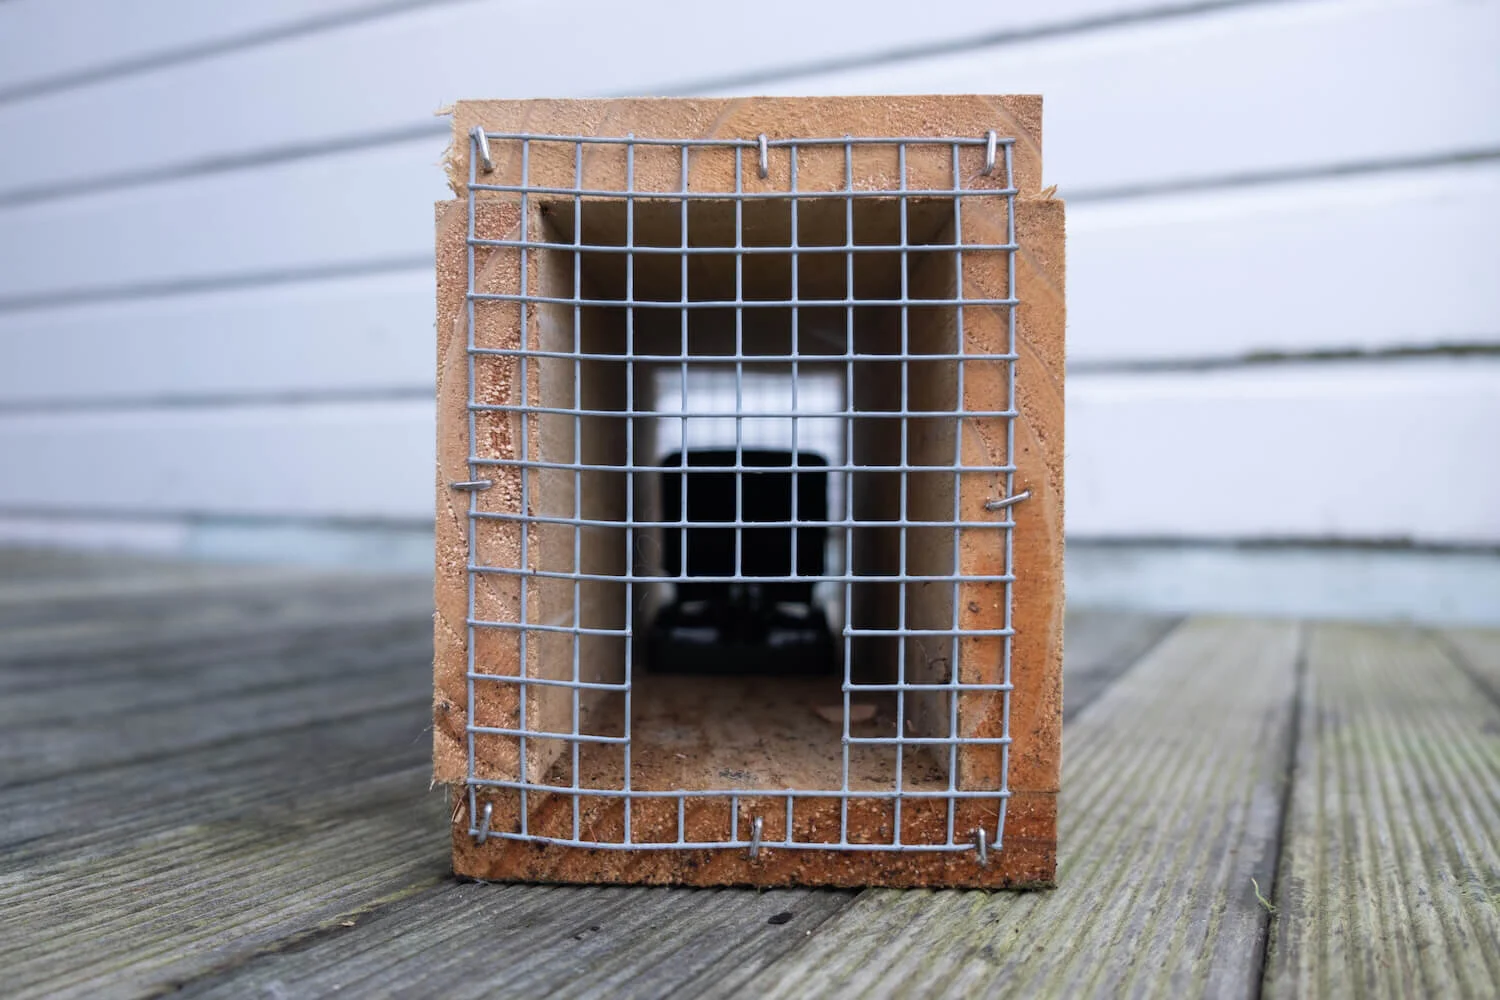
A trapping tunnel is a box that you can put a rat trap inside.
It has a mesh screen with a hole that rats and mice can get into. The back can be removed to make it easier for you to bait, check and re-set your traps.
These tunnels help keep pets and children safe and reduce the likelihood of catching non-target species.
They are easy to make at home and a great activity for children to do with supervision and help from an adult.
Materials
4 x fence timber (150mm W x 25mm D x 450mm L)
10 x staples
1 x back mesh screen
10 x 60mm jolt head nails
1 x 75mm flat head nail
1 x front mesh screen
1 x hammer
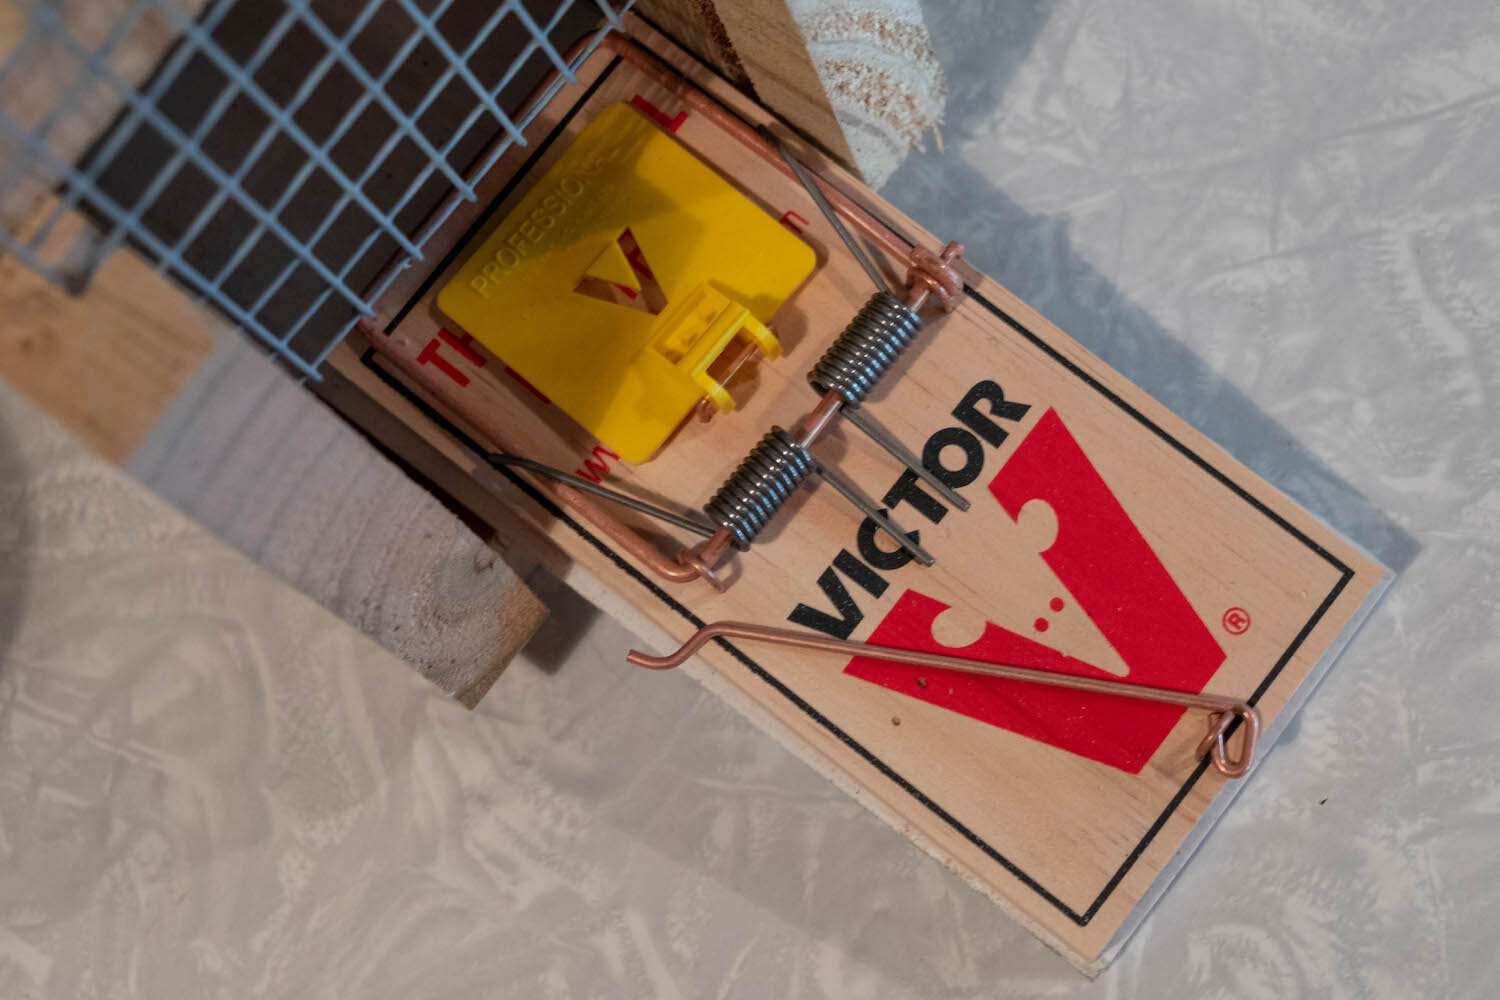
1 x rat trap
Instructions
Pre-drill your holes for the top (4 nails) and bottom pieces (6 nails).

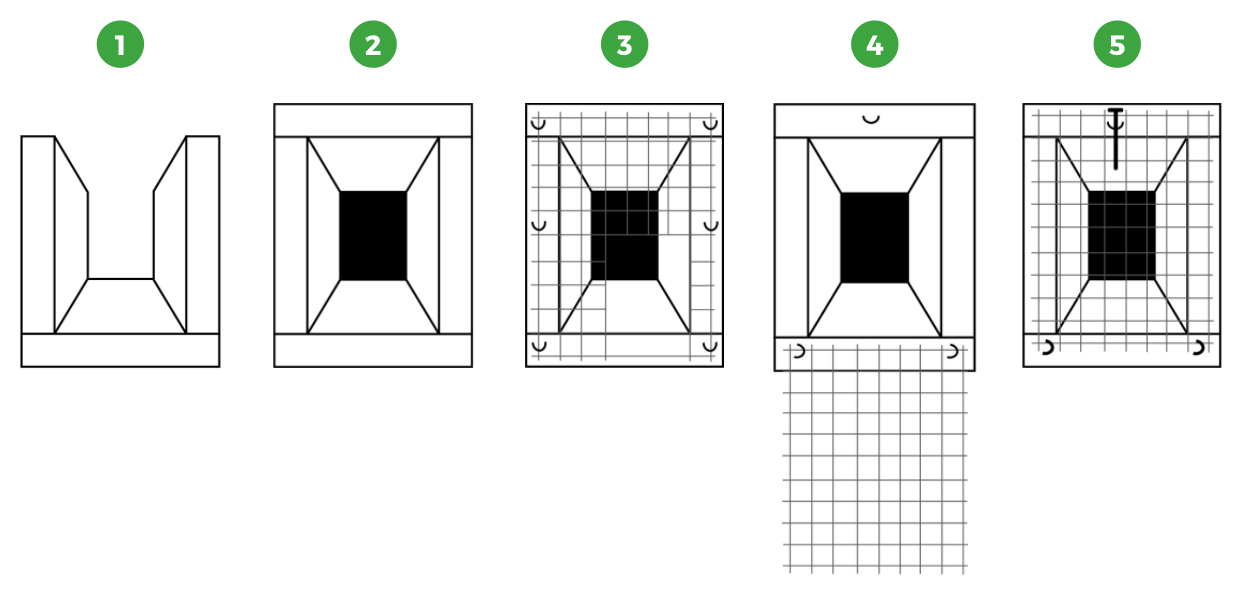
Attach the base piece to the side pieces with the 60mm nails. There should be one in each corner and in the centre for added strength (1).
Put the lid on top and line it up with the sides. Attach to the side pieces with 60mm nails. There should be one for each corner (2).
Staple each corner of the front mesh (with the opening) to the tunnel (3). Make sure the entrance hole is level with the top of the base.
Staple the back mesh to create a hinge so it can open like a door (4).
Hammer the final staple horizontally in the centre of the top piece of wood (5). Leave enough room so the mesh can close over the staple and a 75mm nail can be inserted. Make sure it's tight enough to hold the door close!
The tunnel is now ready for you to insert your trap!
More like this…